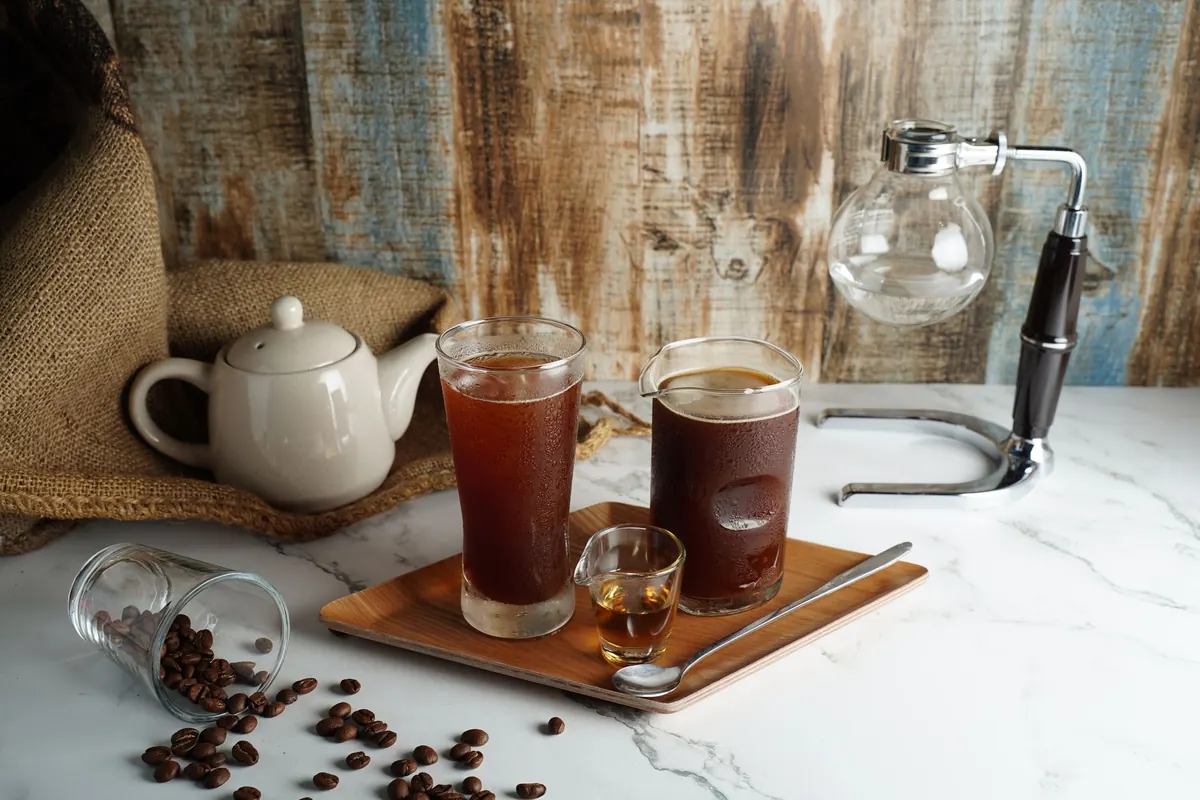
Cold brew has a reputation for being forgiving, and mostly it is. A jar, a strainer, and a little patience will get you a decent batch. But decent and smooth are separated by a few details: grind size, water ratio, steep time, and how carefully you filter the concentrate. Get those right once, and you have a repeatable house method. The good news is that cold brew rewards small adjustments. Change one thing at a time, keep a few notes, and within three or four batches you will know what your kitchen, your grinder, and your favorite beans need.
What Cold Brew Is, and What It Isn't
Cold brew is coffee grounds steeped in cold or room-temperature water for hours, then filtered. It is not hot coffee poured over ice. Without heat, you pull less of the sharp, papery edge from darker roasts and more of a rounded, tea-like body. That is why cold brew can taste smooth even when the coffee itself is fairly ordinary.
The difference is easy to taste side by side. Brew a small batch of hot coffee, chill it quickly, and compare it with a cold brew made from the same beans. The chilled hot coffee often has more acidity and a clearer top-end brightness, while the cold brew tastes softer, broader, and sometimes sweeter. Neither is better, but they are not interchangeable. If you love the snap of a bright Ethiopian coffee, cold brew may mute some of that character. If you want a low-acid, easygoing cup with milk, cold brew is hard to beat.
Most home cold brew is a concentrate: brew strong, then dilute in the glass. That gives you control. Serve it black, over ice, with milk, or with tonic without it tasting watery. Brewing at drinking strength from the start is simpler, but it leaves less room to adjust. A concentrate also lets different people at the same table make their cups differently: one person can take it strong and black, another can stretch it with oat milk and ice.
Start With a Ratio You Can Remember
Use weight, not scoops. Grounds vary in density, and a scoop of fine coffee weighs differently from a scoop of coarse. A digital scale removes the guesswork. It also makes it easy to repeat a batch when you land on one you like.
For a concentrate, start at 1:8 coffee to water—100 grams of coffee to 800 grams of water. It is strong enough to hold up to ice and milk without becoming syrupy. For a batch that is ready to drink from the fridge, use 1:15: 100 grams of coffee to 1,500 grams of water. A 1:10 ratio is a useful middle ground if you like a concentrated brew but plan to serve it with just a little ice.
Concentrate or Ready-to-Drink?
The 1:8 concentrate is more flexible for beginners. Brew it, chill it, then dilute by taste. The 1:15 version is convenient for a busy week: pour it over ice and go. Just remember that ice melts. A ready-to-drink batch served over a full glass of ice will taste weaker by the last few sips, so chill the brew and the glass first if you can.
A simple starting point for a single serving is 60 grams of 1:8 concentrate topped with 60 grams of water or milk. Taste it, then add more water by the spoonful until it suits you. For a stronger iced coffee style, use less dilution; for something closer to a cold brew tea, use more. Write down the final dilution you liked, because it is easy to forget between batches.
Scaling the Recipe Without Math Fights
Once you know the ratio, scaling is straightforward. For a 1:8 concentrate, use 50 grams of coffee and 400 grams of water for a small batch, or 200 grams of coffee and 1,600 grams of water for a larger jar. For a 1:15 ready-to-drink batch, 70 grams of coffee and 1,050 grams of water makes a little more than a liter. Keep the jar large enough to leave a few inches of headspace; the grounds need room to move, and the water needs room to cover them completely.
Grind Size and Filtering: The Two Details That Decide Texture
Grind coarse, like sea salt or raw sugar. If the grounds are too fine, they can clog your filter, slow the drip, and leave a muddy cup. If they are too coarse, the brew can taste thin and underdeveloped even after a long steep. Most grocery-store grinders have a “French press” or “coarse” setting that is a good starting point. If you grind at home, aim for pieces that look like small crumbs rather than powder, and expect some inconsistency; that is normal.
Filtering matters as much as grinding. A fine-mesh sieve alone catches most grounds but lets some sediment through. A paper filter—or a clean cloth filter—takes longer but gives a cleaner, more shelf-stable concentrate. Some people use both: strain through a sieve first, then through a paper filter. The second pass is slower, but it is the difference between a brew that tastes finished and one that tastes like it still has grit in it.
- Fine-mesh sieve: fast and easy, but leaves more sediment and a heavier texture.
- Paper filter: slow and clean, with a brighter, lighter body.
- Cloth filter: reusable and middle-ground, but it must be washed thoroughly and dried completely.
- French press: convenient for steeping, but pour through a separate filter afterward for a cleaner concentrate.
Timing: Begin at 12 Hours
Cold brew is not a set-it-and-forget-it project. Time changes the cup. Start at 12 hours in the refrigerator, then taste. If it is sharp or thin, give it more time. If it is woody or drying, you have gone too far.
- 12 hours: bright, tea-like, lighter body. Good for delicate beans and for people who find cold brew heavy.
- 15 hours: rounder, sweeter, more body. A reliable middle for most medium roasts.
- 18 hours: heavier and more chocolatey, but closer to the edge. Dark roasts can turn bitter or ashy here.
Temperature matters. In the fridge, extraction is slow and forgiving; 16 to 18 hours is often a good window. On the counter, keep it to 12 to 14 hours and use a clean jar. If your kitchen is warm, stay in the fridge. Warm extraction can pull more bitter compounds and make the brew taste flat. A refrigerator also keeps the brew out of the temperature danger zone, which is one less thing to worry about when you are planning to drink it over several days.
Use taste, not the clock alone, as your guide. At the 12-hour mark, spoon out a small sample, let it cool if needed, and taste it diluted the way you plan to serve it. If it tastes weak but pleasant, wait two more hours. If it already tastes strong but harsh, stop the steep and filter it. Cold brew can be filtered early and chilled; it cannot be un-steeped.
The Method, Step by Step
- Weigh 100 grams of coffee for an 800-gram water batch at 1:8, or 100 grams of coffee for a 1,500-gram ready-to-drink batch at 1:15.
- Grind the coffee coarse, close to French press size.
- Put the grounds in a clean jar or pitcher and add the measured water. Pour slowly enough that all the grounds get wet.
- Stir gently with a spoon to break up dry pockets, then cover the jar.
- Steep in the refrigerator for 12 hours, then taste. Continue in two-hour increments until the brew tastes balanced to you.
- Strain through a fine-mesh sieve lined with a paper filter or clean cloth. If the filter clogs, stop, clear it, and continue; do not squeeze the grounds, which can push fine particles into the brew.
- Transfer the filtered concentrate to a clean bottle or jar and refrigerate. Label it with the date and ratio if you plan to keep notes.
Avoid pressing on the grounds to get every last drop. It is tempting, but it pushes sediment and harsh flavors into the concentrate. Let the filter do its work, even if it takes twenty minutes. The difference in yield is small; the difference in clarity is not.
Dilution and Serving
For a 1:8 concentrate, start with one part concentrate to one part water or milk, then adjust. Serve it over ice in a chilled glass, or use coffee ice cubes if you want the flavor to stay strong as the ice melts. A splash of tonic water and a slice of orange makes a refreshing summer drink; milk or cream softens the edges; a little simple syrup turns it into an easy dessert-adjacent treat. If you are using a 1:15 ready-to-drink batch, pour it straight and add only a little ice.
Remember that concentrate is strong. A 12-ounce glass made mostly of concentrate can deliver more caffeine than you expect, especially if you are used to drip coffee. Start with a smaller serving and see how it feels. Cold brew is often higher in caffeine by volume than a same-sized cup of hot coffee, but the exact amount depends on your ratio, bean, and dilution.
Storage and Shelf Life
Keep filtered cold brew covered in the refrigerator. A clean bottle with a tight lid is better than an open pitcher, because cold brew picks up fridge odors easily. Most home batches taste best within four to five days. After that, they are still safe, but the flavor flattens and can turn slightly stale or woody. If you make a large batch, freeze part of it in ice cube trays and use those cubes for future glasses.
Troubleshooting Your First Few Batches
- Too weak: check your ratio by weight, grind a little finer, or steep two hours longer. Do not just add more grounds without measuring.
- Too bitter: shorten the steep, use a coarser grind, or move the jar to the fridge if it was on the counter.
- Muddy or gritty: add a paper-filter pass and avoid pressing the grounds.
- Flat or dull: try fresher beans, a lighter roast, or a slightly longer steep at refrigerator temperature.
- Too strong even after dilution: use a 1:10 or 1:12 brewing ratio next time, or simply dilute more in the glass.
Common Beginner Mistakes
- Using hot water “to get it started.” That turns the process into hot extraction and changes the flavor.
- Grinding too fine because it seems like it will extract faster. In cold brew, fine grounds mostly create sediment and clogged filters.
- Brewing on the counter in a hot kitchen. The fridge is slower but more consistent.
- Forgetting to dilute a concentrate. Taste before you pour a full glass.
- Straining once and calling it done. A second pass with paper or cloth makes a noticeable difference.
Start with one ratio, one grind, and one steep time. Taste at 12 hours, adjust once, and keep the method simple until you have a batch you would happily drink again. Cold brew is forgiving, but it is not random. The details are few, and once they are in place, the routine becomes almost effortless.
Photo: Kai-Chieh Chan / Pexels